gravity car.


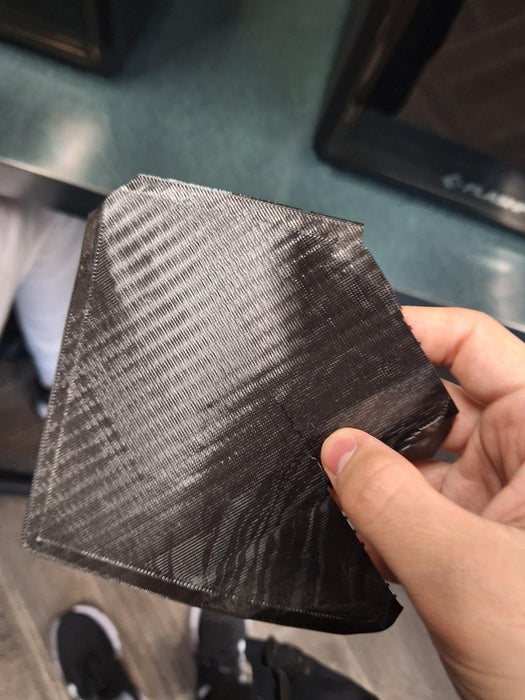
This is are Gravity car assignment to make the most efficient car posable. Its only made out of carboard 3D prints and old filament holders for the back wheels. I designed the front and back wheels and my partner did the body. it did very well we had the most efficient car and it all held together.
![]()
I wanted to make something that could be flashy to look at and be fun to make. I watered it to spread out With lots of popping color and interesting things to look at.
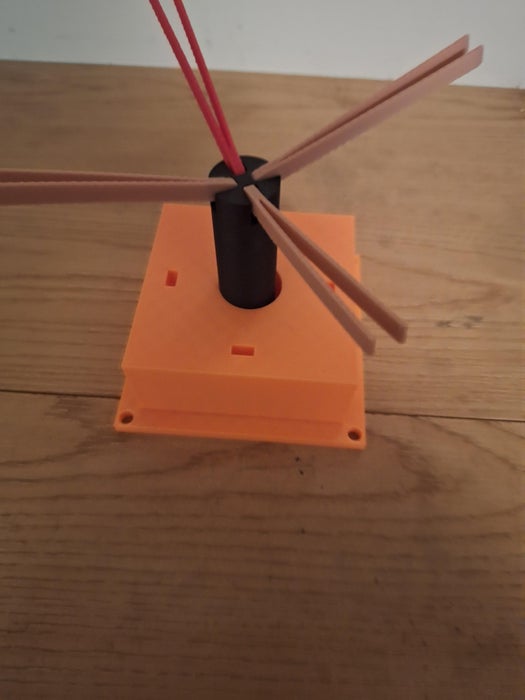
Shall I decide to go with this project? Yeah, small machine that went right back. Really fast could set out small paper helicopters that would fly throughout the room and spin down. I really like this idea because,
– It was very flashy and brightly colored.
– It was interesting to look at because it was spinning, and it was releasing things.
– It was a lot of fun to make.
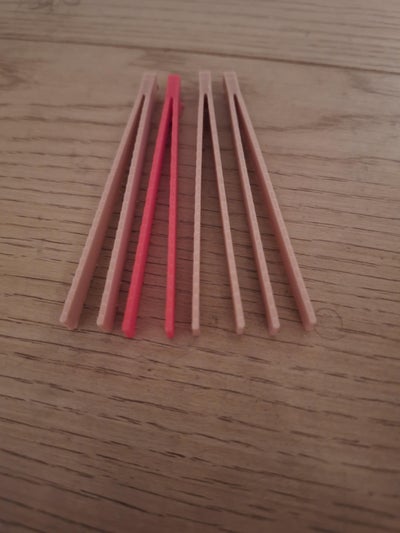
took three variations to get the length that I wanted on the wings. But these ones Are the best for what I am trying to do.
In this instructible, I am going to tell you exactly how I made it and every step along the way.
Supplies
– Computer
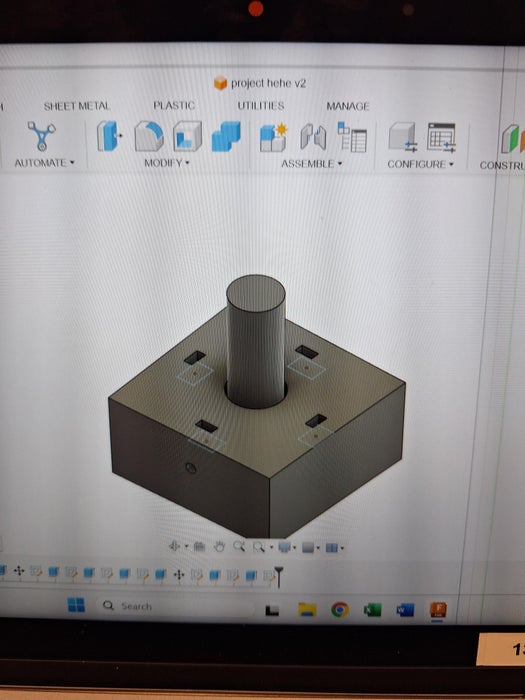
-Autodesk fusion
– 3D printing filament
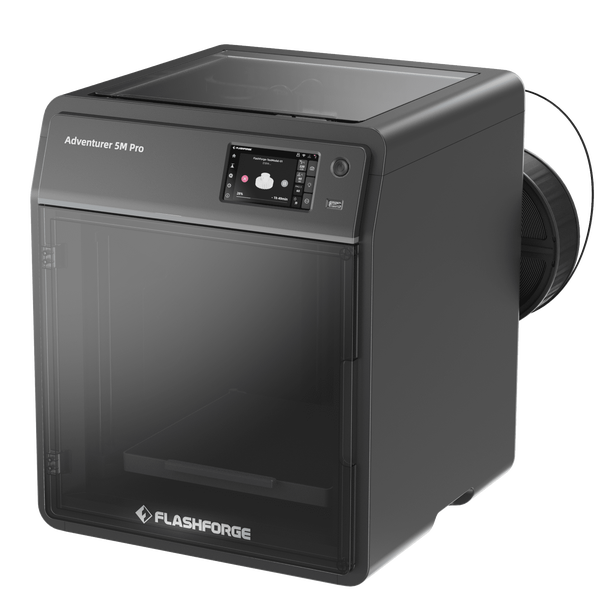
– M5 Pro 3D printer
– String.
– Construction Paper
-Tape.
Step 1: Designing
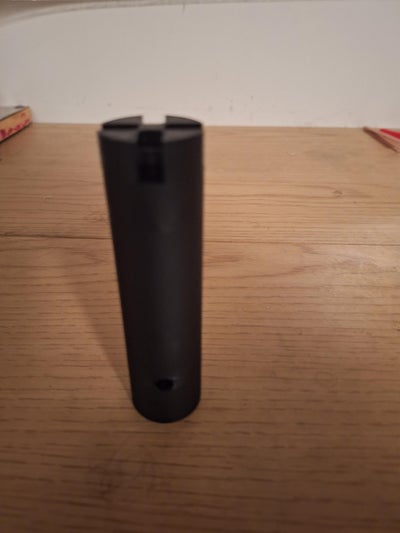
The first step is to design exactly how you want to work. Start with a very heavy base Then the tower and the wings. All of the measurements, like the height of the tower or the length of the wings or the width of the base can be customized. To whatever you are trying to do. I have my tower at 100mm or 10 centimeters and my wings at 8.5cm or 85 millimeters.
Step 2: Printing
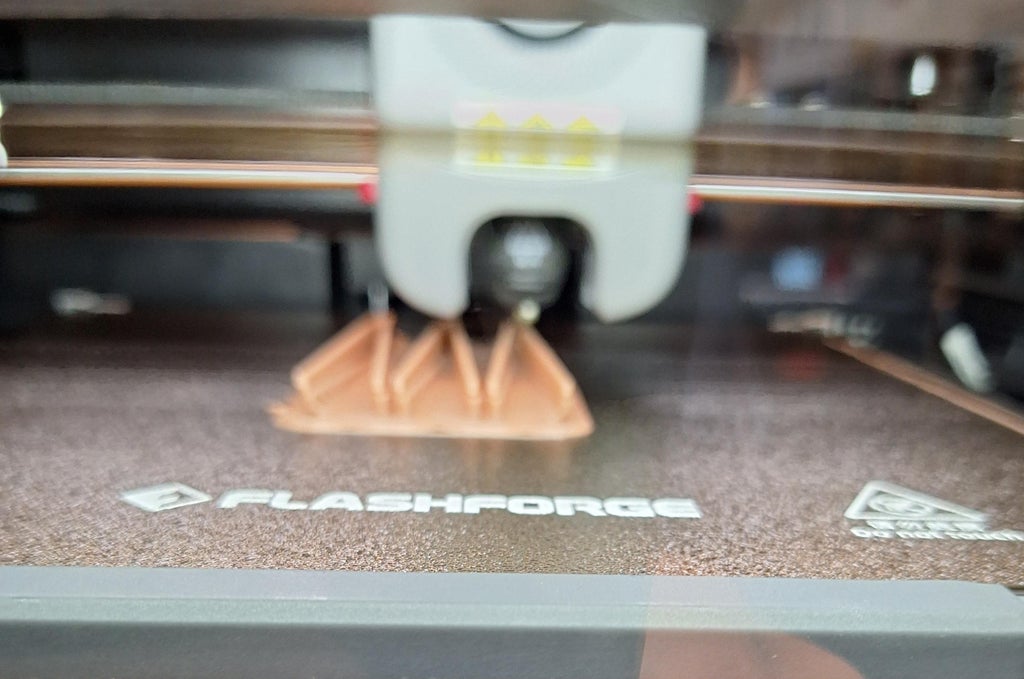
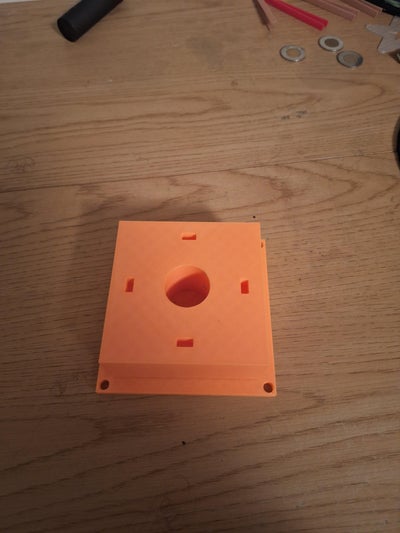
Printing can be very difficult with this build, many of the pieces are small and precise, and one bad layer can ruin it. Make sure to watch it as it is printing, I had to keep a good eye on it. And it failed a few times.
Step 3: Removing From Platform
The rafts for the prints are very hard to get off and you will need pliers and clippers to get them off without breaking them.
Step 4: Assemble
Put each of your pieces together if designed right each piece should slide or click together. the put the string through the hole in the tower and Bace and tie a nought at the end.
Step 5: Paper Copter
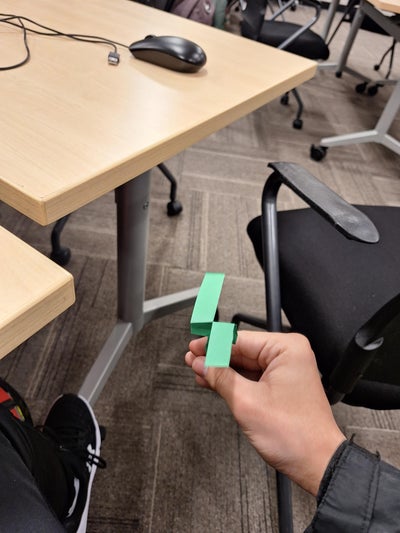
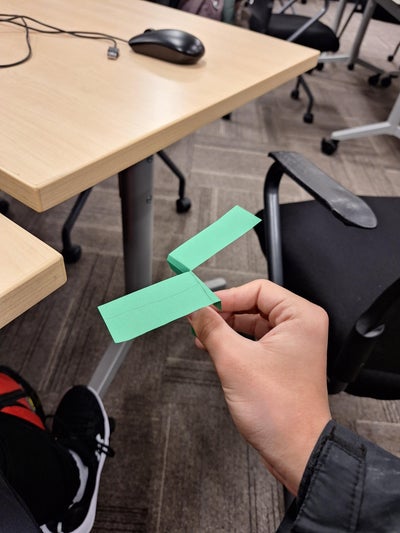
you can use any design for yours i used there because i made them to look like the ones that fall from trees. then load it up and watch it fly
Attachments
Boat Races
We did the boat races this year and came in 1st for longest float our design was simple and we used many layers of tape to make Sure that it didn’t fill with water. this is our ship and a prototype i made

Career project
For this project we needed to make a thing related to our career that we chose I chose civil engineering and for that i made a wooded bridge that has my name in it.


STEAM Passion Project – Cassius Marshall – The Boy Bit Gauntlet
Starting out, I knew I wanted to do a designing and engineering project. I’ve always enjoyed building, taking things apart, and into something more personal and fun: the Boy Bit project.The plan? I wanted to create a wearable gauntlet that could hold my phone on my wrist like a high-tech gadget. Then, I would code a game—a version of Flappy Bird—and have it run right there on the mounted phone.
I started by designing the gauntlet using 3D modeling software. This part took a long time. I was completely new to digital design, and learning how to shape, fit, and measure pieces properly was a challenge. My first few designs didn’t quite work—they were either too small, didn’t fit my wrist, or couldn’t support the weight of the phone..Eventually, I 3D-printed all the parts, including the gauntlet base, straps, and the phone holder. Each piece had to fit just right, and sometimes the printer failed or the fit was off, so I had to go back, tweak the design, and try again.
Once everything was printed and assembled, I moved on to the coding. I recreated a version of Flappy Bird using a simple game engine and uploaded it to Itch.io, a platform for indie games. I made sure the game was optimized for my phone screen and could be easily played while mounted on the gauntlet.
After all the main pieces were complete, the final challenge was to make sure the gauntlet was comfortable and secure.
On presentation day, everything came together. My Boy Bit Gauntlet looked great and the game ran perfectly on the phone. Even though I faced a lot of challenges along the way—from design issues to failed prints and unfamiliar tools, I was really proud of what I had built.
I got to talk to people at my booth about the design process, how 3D printing works, and how I made the game. It was exciting to share the process, especially the parts where things went wrong—because that’s where I learned the most. In the end, I’d call this project a success turned I ended up creating something neetorino.
