Rashaan Sidhu’s Drafting Page
In this page, I will be blogging through my drafting assignments.
Cricut assignment
This is one of my first assignments I did in Drafting.
In this assignment, our class got to print 2D stickers using the Cricut machine. We printed several different stickers like our names, an animal attached to an object we like, a turtle, and a logo we made for another assignment.
My Drafting Folder
The picture below is a picture of my drafting folder with all the stickers we made for the Cricut assignment.
On the front cover of my folder, you will see four different stickers. The top sticker is the logo I made for the safety logo assignment, the sticker below it is my name, the sticker below my name is the shape I made, and the sticker below the shape is a turtle.

Video about the Cricut machine
This is a video on how to use the Cricut machine to cut stickers
I really enjoyed this project, because I enjoyed making creating stickers on the Cricut app, and then printing them out using the Cricut machine. Here are some examples of what stickers our class created below.
Names
For this sticker, each person in my class got to create their own name using the Cricut machine.
Here are some examples I found online.
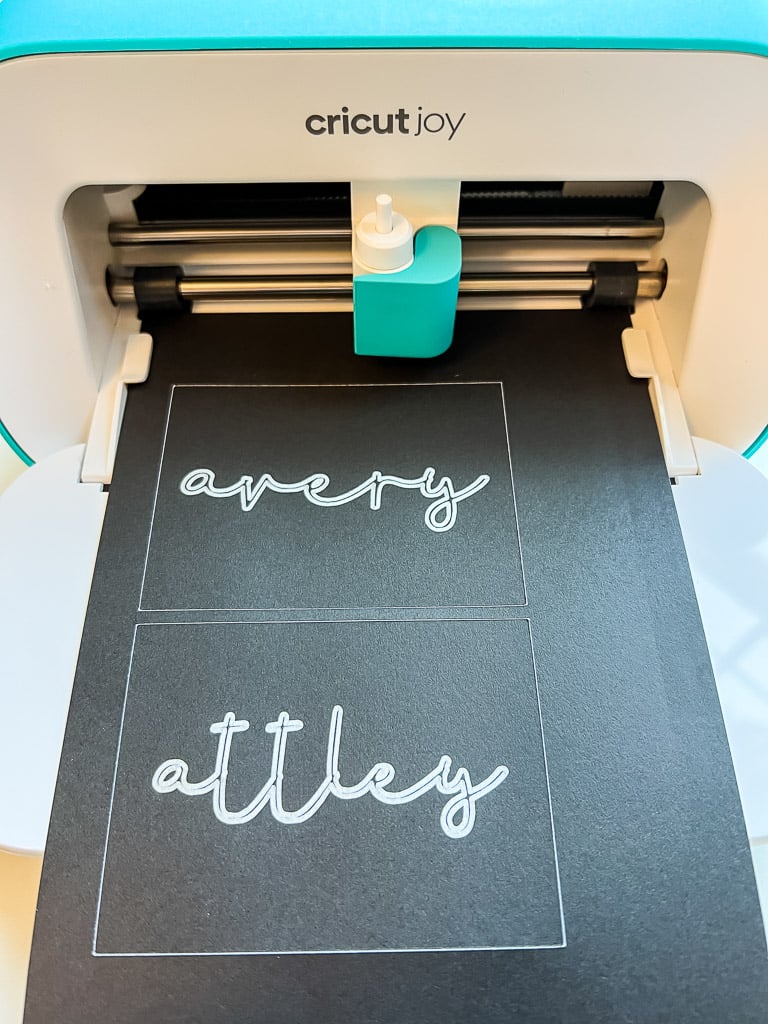

In both these images, you can see the Cricut machine in the back, with their names in front of it. For this sticker, it was pretty simple to create. All we had to do was design the name on the Cricut app, then print it out using the Cricut machine.
Shape and image
For this sticker, my class got to combine an animal and a shape.
We created this sticker by doing a few steps to attach an animal and a shape together. Then the next step was to print it. Here are some examples I found online.
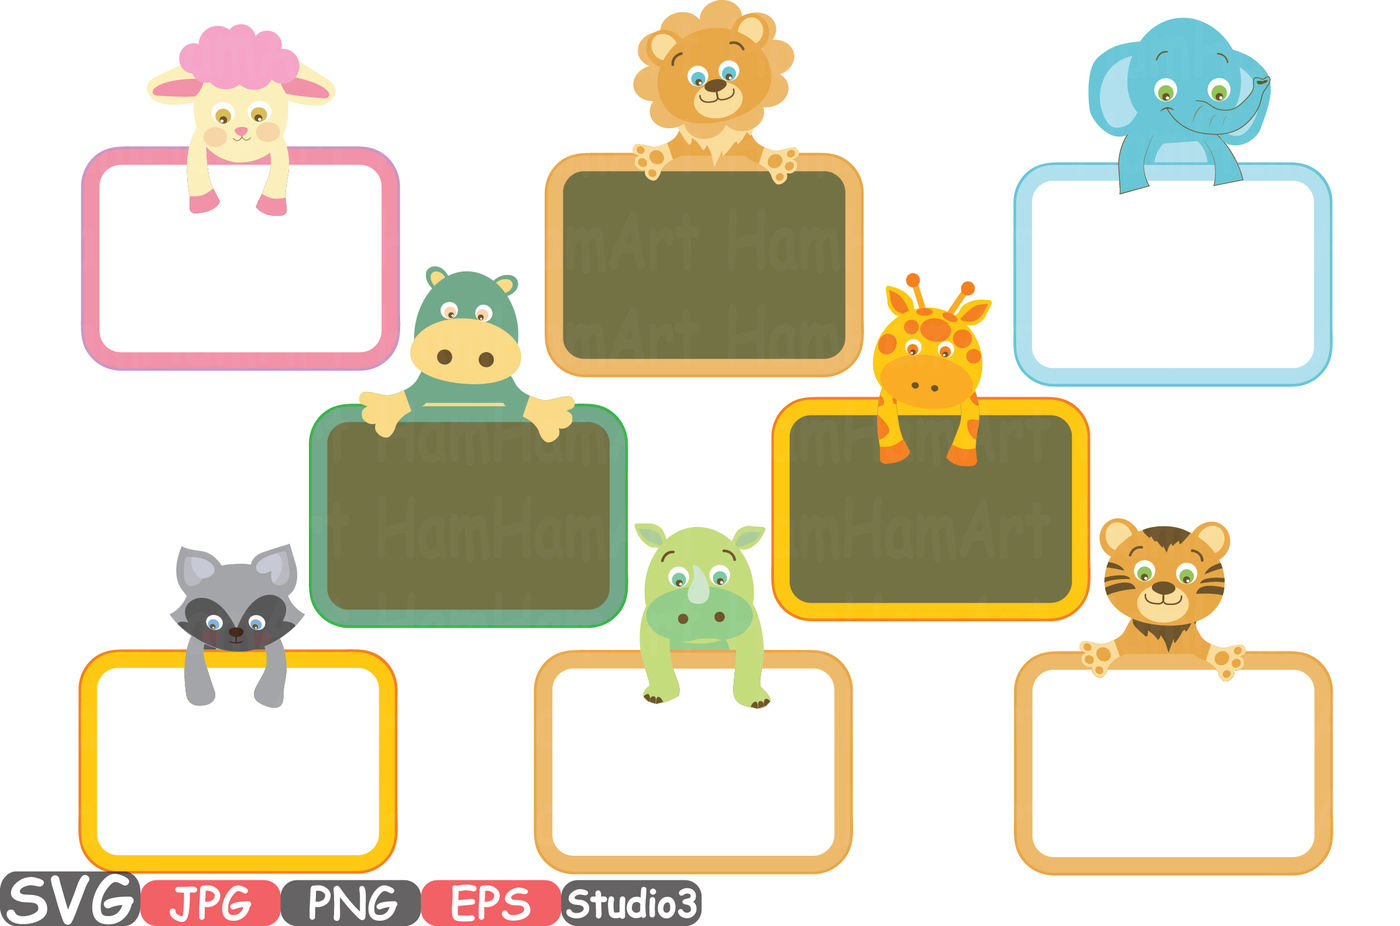
In the top image, you can see that the animals are above the shapes, and you can only see their faces. In the bottom image you can see that the animals are in the middle of the circles.
Here’s a video on how to combine shapes in the Cricut app.
Turtle
For this sticker my class got to create a sticker in the shape of a turtle
To create this sticker, a ton of steps were involved, so it was less simple than the last two stickers I’ve explained above. For this sticker, we had to search up an image of a turtle on Google, and once we’ve found the image, we had to download it to another app called Microsoft paint. In Microsoft paint we had to edit the image of the turtle, like removing the background. Then we had to go to the Cricut app and move the image there, then we could print it. Here are some examples below.
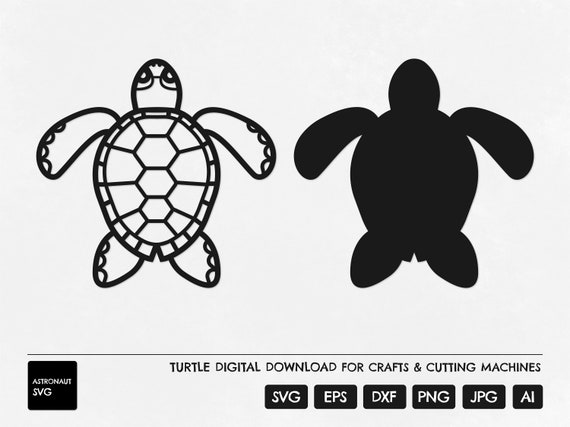
For both of the images, the colors of the turtles did not appear, just like how my class made the turtle.
Safety Logo
For this sticker my class already had the image, because we created the image in another assignment
The image we had already made was a safety logo for Science. I made the logo on Canva, so then all I had to do was move it from Canva to the Cricut app. Then I got to print it. Here are some examples below.
For both these images, they aren’t like what my class created, because we created safety logo’s for lab testing in science. My logo looked like a person getting sprayed in the eye with a chemical, so then that person had to go to the eye wash station.
My balloon car assignment
In this assignment, the goal was to create a 3D car that could move if a balloon releases air into the top of the car. We created a 3D balloon car using an online tutorial in Tinker Cad. When we completed the tutorial online, and when we were done making the finishing touches on our car, we would then use a 3D printer to print out our car that we designed. Below will describe more in detail about this assignment.
The tutorial
The first step of this assignment was to complete the tutorial for the balloon car. The tutorial was split into four different steps. Here are the steps below:
- First we had to create the whole body of our car. The tutorial explained all the instructions for what we had to do to create the car. Here’s an image below that shows what we ended up making in the first part of the tutorial.

- Second, we made a shape which is the balloon connecter, and attached it to the top of our car. The balloon connecter will allow the balloon to connect to our car and give the car a chance to move. Below is an image of the balloon connecter on top of the car.

- Third, we had to create a path for the air from the balloon. We had to be very careful on this step, because if the path intercepts one of the wheels, then the balloon won’t be able to move the car at all. There’s an image below that shows an example of a path for the air. The tube that reaches from the top of the car to the bottom is the path.

- Lastly, we had to create wheels for the car, because the car can’t move without wheels. Here’s an image below that shows the wheels and the car.

Printing out the car
We printed out the car using the 3D printers in the library. At this point, there wasn’t much left to do for this assignment. All we had to do was test out the car, and record our results.
The results of my balloon car
The first balloon car I made didn’t move at all, but then we got to make a second car with a partner. Me and my partner both made a car online together in Tinker Cad, repeating all the instructions I explained above. Once, we completed the tutorial online, we printed out the car, and then we tested it. I am pretty sure that our car moved around 1 centimeter, which was better than my first car. Below shows images of the car that I made on my own, and the car that I made with my partner.
First car

Second car

Video of how to make the car
Below is a video that shows how to make the balloon car in Tinker Cad. It can really be helpful if you find any parts in the tutorial difficult.